Showing posts with label halloween. Show all posts

Saturday, September 26, 2015

Spirit Halloween

Are you ready for Halloween? What costume will you wear?

October 31st is Saturday this year, so it is a perfect day for a party. You will get a chance to rest on Sunday before going to work (and clean your house, if the party happened at your place).
 https://www.etsy.com/listing/245538339/knit-arm-warmers-black-purple-striped?ref=shop_home_active_2
I love Halloween fun but this year I don't have any ideas what costume I will want. Every year I want to make a steampunk Victorian style dress but I am getting so busy with my daily routine that I end up buying a new costume from Spirit Halloween.

Funny thing, I am finding more and more scary vintage books this year. Something to tell around the campfire to scare the crowd!
https://www.etsy.com/listing/166310895/jack-o-lantern-pumpkin-candle-vintage?ref=pr_shop
There is still time to get into Halloween mode and think of some fun ideas for October 31st. Please share yours!
https://www.etsy.com/listing/245538339/knit-arm-warmers-black-purple-striped?ref=shop_home_active_2

Thursday, October 2, 2014

Halloween party food ideas

October is here so is thoughts of the holidays. Halloween is a first one on a list so I am already planning what we are going to cook for a party, what to wear and how to decorate that it would look different than previous years.
So I wanted to share some easy ideas on party food appetizer styles. Last year I made these and they were a big hit! These foods can be easily cooked any time you are in a mood for them. I used some food decorations and these dishes easily fit into the Halloween party table!

1. Сheese balls
Ingredients for the smaller ball:
cream cheese, 8 oz, at room temperature
goat cheese, 4 oz, at room temperature
chopped scallion
seasonings to taste: dried chopped onion, garlic salt, smoked paprika
black sesame seeds for coating

Ingredients for the larger ball:
cream cheese, 16 oz, at room temperature
1 can crashed pineapple, 20 oz, well drained
1/2 chopped green bell pepper
seasonings to taste: dried chopped onion, garlic salt, paprika
black sesame seeds for coating
 
Mix all ingredients but the sesame seeds, form 2 balls. Place sesame seeds on a flat plate and roll the cheese balls in it. Move to a serving plate, decorate and store in a refrigerator until ready to use. Serve with fresh baked sliced baguette.

2. Meat and cheese quesadilla
 Ingredients:
a pack of tortillas
cooked meat (cubed roasted chicken, shredded pork or some chopped steak)
Monterrey Jack cheese, shredded
mayonnaise
Medium taco sauce to taste
Preheat your oven to 385"F. Line the tray with a foil. Spread a thin layer of mayonnaise on 1 side of the tortillas and arrange some meat and cheese on half of the circle. Spread some taco sauce on top of the meat and cheese and fold the other half of the tortilla on top of the meat and cheese. Bake for about 10 to 15 minutes. Let it cool and cut to a single size servings. Arrange on a serving plate and decorate. Cover with a lid to keep moist until ready to serve (no more then 2 hours without refrigerator since there is some meat and cheese in it).

3. Chocolate cupcakes
I am sure you have your favorite recipe for these. So just bake and frost them as you always do, sprinkle with edible decorations. Store in refrigerator until ready to serve.
What are you going to cook for your party? Please share with me your ideas!

Monday, October 7, 2013

Halloween fun

We are getting ready for Halloween party and it's always fun to plan something different to decorate.

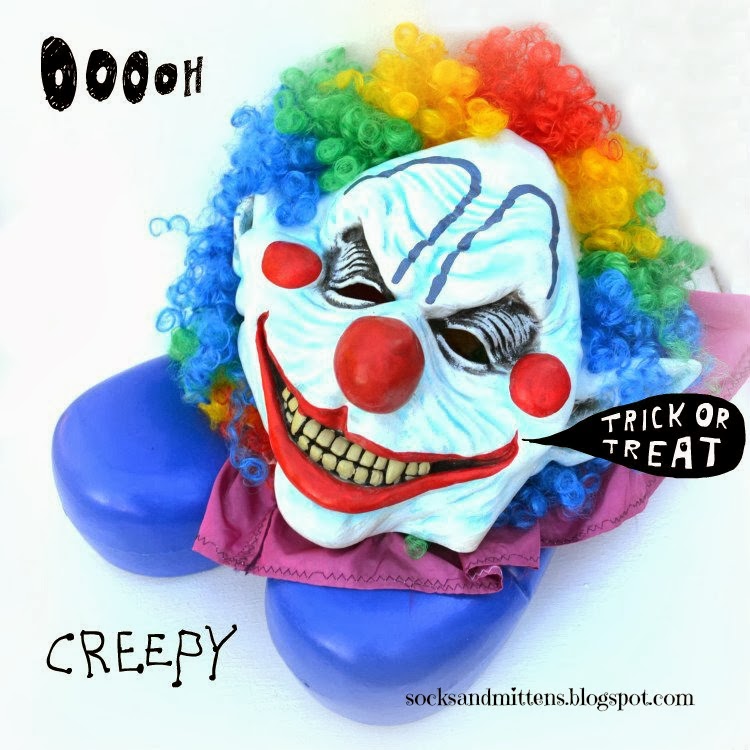
I took my boxes with Halloween stuff out of our garage and took everything out. The idea hit as soon as I found a clown mask and some costumes we were wearing previous years. I also noticed a clothing rack in the corner so a scary clown figure became very impressive :)
So the idea is simple. Everything is going on the rack and I am going to add some volume to the body by wrapping some fabrics around the clothing rack. We add the hands made out of twisted wire hanger and we got a pretty tall figure, and pretty good looking one also.

Have fun decorating this Fall!

Friday, October 12, 2012

DIY Halloween banner BOO

Halloween is near and I still did not put any decorations outside the house. I hide the box with Halloween stuff in the far corner of the top shelf in a garage and it is almost un-reachable. A tall ladder would help for sure but at least at this point I am just walking by.

That's why I am especially interested in some new quick DIY projects for Halloween.
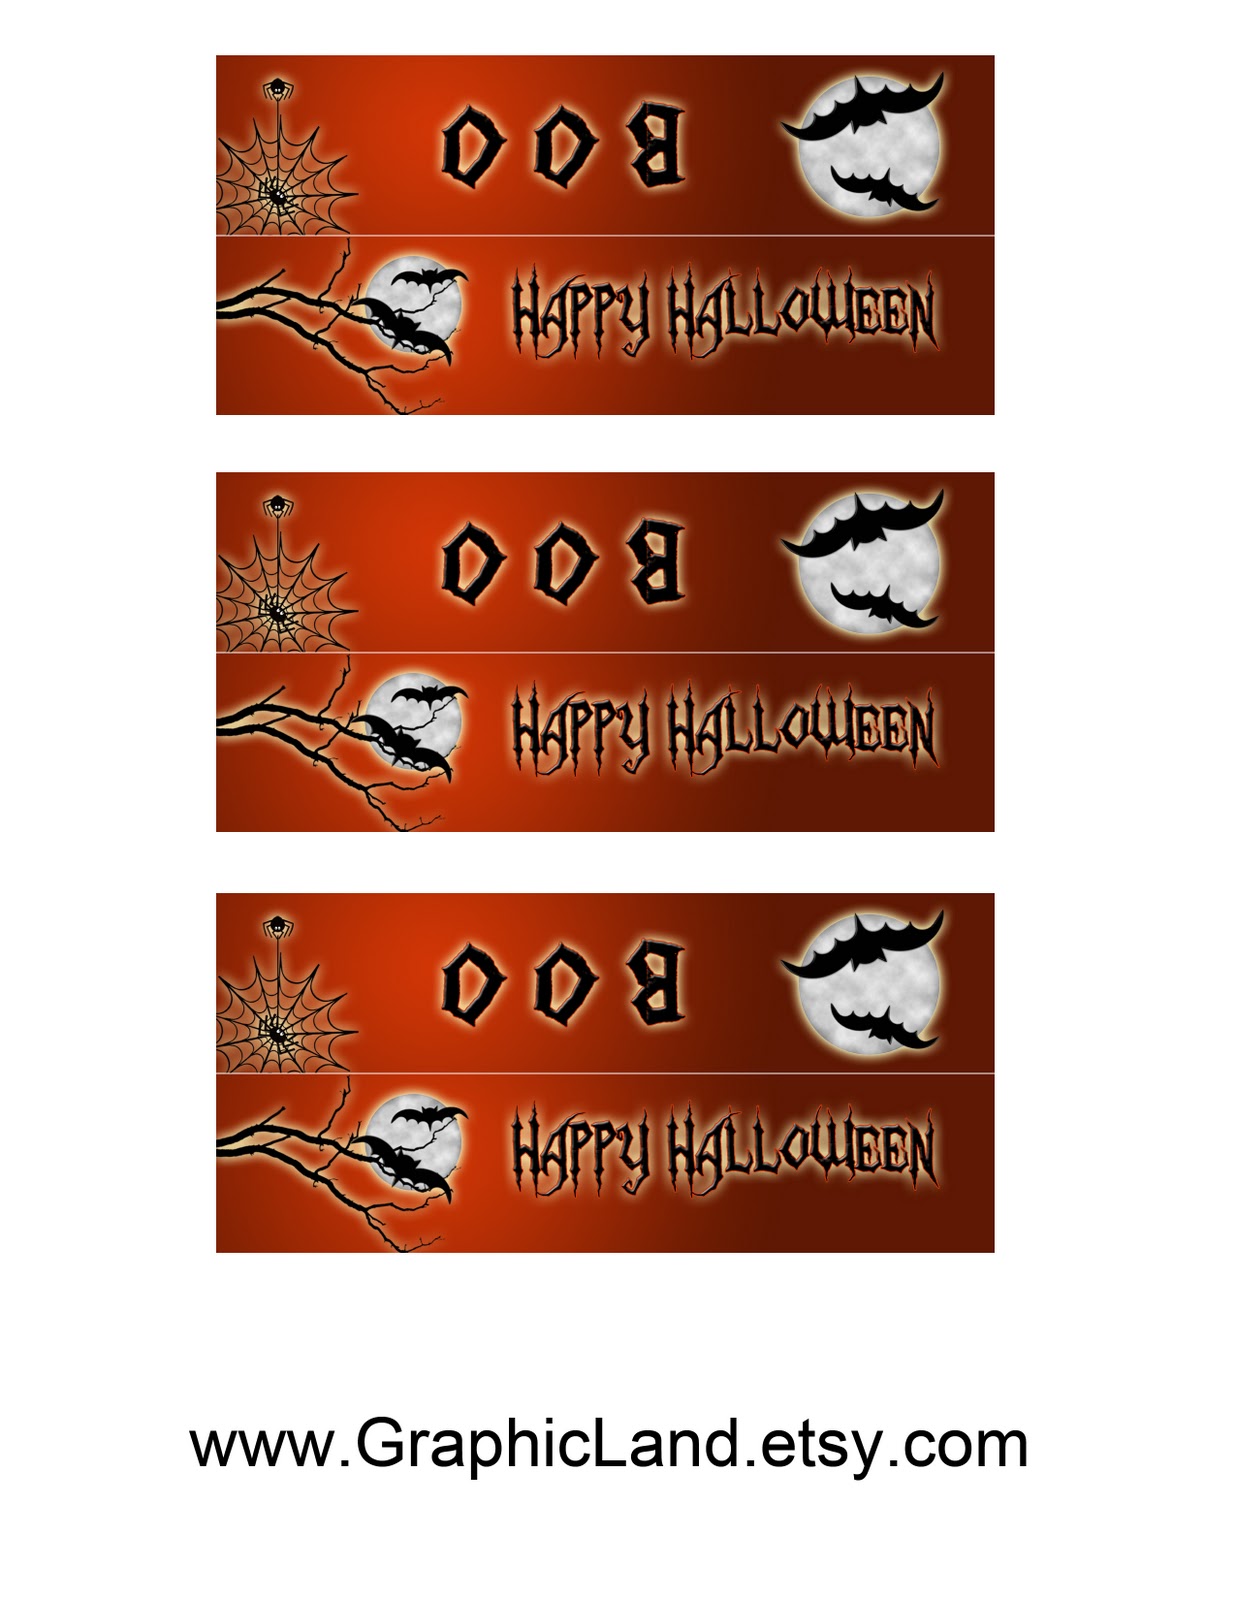
I contacted Irina (Graphicland) wondering if she could help to make a simple graphics banner for me. She was excited and pretty soon the new banner was born. Irina was also kind enough to give me permission to share these graphics with my blog readers.
   So, here is the banner and it is really easy to make. 
 Just print the graphics and cut out the flag triangles. Glue them to the cardstock and put them under some heavy books to make sure they will stick and be flat. I would suggest using wax paper to put between the book and the cardstock to make sure that the cardstock will not be glued to the book. About 30 minutes to one hour should be enough.

Now, cut the flags out of the cardstock. You can cut it either really close to the paper edge or leave some space, it's up to you. Make two holes in both top corners of your flags with a paper punch. Thread the jute cord through the holes in the flags. Leave enough jute to reach the areas to tie it to.
It's ready! You can add some embellishments to make it more personal and it will become one of a kind.

You can download the graphics for this projects here (1, 2, 3) or visit Irina's blog for more great projects!
 Have fun with this projects!

Sunday, September 9, 2012

New at SocksAndMittens - Halloween gloves and scarflettes

It is just September but I am very excited about Halloween. We are hoping to get up north this year and have wonderful outdoor party so I might not need any special Halloween costumes to wear. I still would like to wear something special so I thought of something easy to go with a simple black dress.


In my very special cozy knitted world it's gloves and scarves, of course. They will transform your look in minutes!

We made a couple of extra pairs for our SocksAndMittens shop on Etsy - please stop by if you have the time! Black with mustard stripes or black with purple - you decide which one you like the best!


After all, each witch must have a pair like these, you know :) 

Tuesday, October 18, 2011

Ode to a pumpkin

What would you do with your pumpkin?
 You can put it on your porch and celebrate a Fall with it's bright color.


 You can cook it and enjoy the sweet flavor.

You can carve it and put a candle in it to scare the evil spirits on Halloween night.
 You can draw a picture of it and maybe, make a greeting card.
 You can make a colorful pumpkin-like beads and put it on a chain to make a necklace or a pair of earrings.
 Or simply knit with the pretty pumpkin colored yarn and enjoy the warmth of your hand knit creation!

Saturday, October 1, 2011

Halloween fun ideas and the free bag toppers' graphic from GraphicLand

Halloween is all about the fun and treats and it taste better when it comes in pretty wrappers or has a nice tag. So I contacted one of my favorite graphic shops on Etsy, the GraphicLand, to get some new ideas and inspirations for the coming holiday. Irina, the owner of the shop was very kind to answer some of my questions and she also made a Halloween bag topper especially for my blog readers.

1. What does Halloween mean to you?
Halloween is not widely known in my country as in America. When I came here, I had heard about this day, but I had never celebrate it. So all what I know, I absorbed here - in America.

The holiday didn't become the day which we celebrate in my family, but it's definitely a fun day for me. I like the costumes, the tradition of trick-or-treat... :) And the most I like is the fun that people have around. My favorite thing about Halloween is to get a camera and to go to downtown to take picture of costumed people while they are trick-or-treating :)


2. Would you share some tips with us on how to use your images for Halloween?
I would love to share bag toppers* images for Halloween. I really believe they are going to be useful to decorate party favors. You just need to print, fold them, and attach to plastic bags with stapler. Hope you'll like them. :)

 
* These bag toppers were designed to fit a clear self sealed bag  about 5 1/4" by 7 1/4"


3. Name 3 things you would always use for Halloween party.
I would say spooky decoration, good friends and family, and of course a lot of food and fun. :)


Sunday, September 18, 2011

Halloween home decor ideas form the stained glass expert

I love to decorate our house for Halloween but I am always looking for some new ideas. I went to Alla FleetingStillness for inspiration with this matter.

Alla is a great stained glass items designer, I really love her style. I am proud owner of two wonderful pieces made by her and I am completely trusting her with home decor!  


 1. What does Halloween mean to you?

To me, Halloween is the most fun holiday of the year. I like it even more than my birthday. I think I like it because it is a holiday that does not celebrate anything in particular, at least for me. I know Halloween has a rich history, but it is not really the history that is celebrated. This is the most fun, no-obligation, crazy, come up with your own theme and let-it-all-out holiday. It can be very much fun for adults - I hosted a black-tie champagne party once, and always is fun for kids - last year we had a huge turnout of kids and parents, probably 70 people total. I like hosting parties, and Halloween parties are the most fun.

2. What would your suggestions be for picking Halloween decorations?
I love to decorate my house, both inside and outside. Every year I buy a few more items and my husband complains that they take up too much space in the garage. But he sure stops complaining when I open all those boxes and decorate the house, making sure it looks different every year.


I have neighbors that pull all the stops out while decorating outside. Last year, they had a huge installation with three life-sized surgeon figures operating on a zombie in their front yard! I think this is absolutely wonderful, but if you are not up for an effort of this scale you could just put out some strategically placed string lights, a few carved pumpkins, or votive candle holders in paper bags decorated with scary drawings. Just make sure you put sand into these paper bags to avoid fire.


Inside, I like to have a couple of focal points, so last year I got 3 5-foot-tall cardboard figures with repositionable limbs (a witch, a mummy, and a zombie) and attached them to the wall at the entrance. I also got a plastic sheet to cover the refrigerator with a picture of an open refrigerator full of spoiled food and severed limbs. This year I am planning to get a motion-activated broom that waltzes around and cackles.

After your focal points are in place, just pull out your last year's decorations and use them in a different way, or not as intended. For example, last year I took my old vampire shoulder-length black gloves, stuffed them with crumpled newspaper and stuck them behind a mirror - it looked pretty nice - two black hands reaching out :)

There are simple touches and small-scale handmade projects you can do that will add some extra spice. Transparent plastic sheeting from a hardware store (that is normally used to cover up the floor and furniture while painting) can be transformed into a removable wall mural of a cemetery or a Halloween table cover with help of only black and red permanent markers. White balloons wrapped into leftover plastic sheeting make wonderful floating ghosts, and also are great party favors for the kids.


3. What costumes are you and your family thinking about wearing this year?
This is the hardest question of all. I do not know yet. Last year I was The Queen Of Hearts, and my husband was what we called An Elegant Vampire, my daughter was a Witch with an electrified costume, a and my son was a Ninja that lost half of his gear. So far, my daughter has changed her mind about a 100 times, going from Hermione to An Indian Girl to A Witch to a Ninja… My son wants to be a zombie boy and he found a pretty cool costume for that. I will probably pick costumes for my husband and I after we're done picking for the kids. As the last resort, my huge butterfly wings, cat tail and ears, black feather boas, veils and other items left over from the past parties could be mixed up into some sort of a black mutant animal :)

Friday, September 16, 2011

Back to black

I love to shop right now for Halloween stuff, don't you? I am trying not go overboard with my spending but I still have some unfulfilled wish. Like that little devil pot which runs away from you laughing as soon as you get close to it.  

Anyway, we were thinking of costumes for this year and I realized that I am in a mood for black and Gothic. This is where my inspiration is coming from. I love to make or  purchase clothing that I am able to wear more than once so we thought of these lovely romantic (or Gothic) gloves which will look great with any outfit. 


 Lace is always classy so we used a soft blend yarn made of merino wool, bamboo rayon and nylon to show the pretty pattern. They are elegant and sophisticated at the same time. 


The same pattern but in a different yarn was used to make this pair:


It has a completely different look, don't you think? Great to wear for your New Years eve gala or any time you like :)

Sunday, September 11, 2011

Gothic ring tutorial


You can make this gorgeous Gothic ring in no time with Albina's easy-to-follow tutorial!


Tools and Materials:
· 2  20ga round dead soft wire – 2 ft
· 1  10 mm bead – 1
·     Ring mandrel
·     Chain nose pliers
·     Wire cutters

1. Cut a piece of 20ga round dead soft wire2 ft (61cm) long.
2. Place a 10 mm round bead in the middle of the wire. Bend the wire down as shown.


3. Place the wire with a bead around the ring mandrel mandrel at ½ size larger than needed. Wrap the wire around the ring. There is one wire on either side of a bead.


4. Wrap each wire around the bead, one side at a time and alternate sides. Your wires will end up in opposite directions.


5. Continue wrapping until you are satisfied with number of wraps or you have at least 2” of wire left on each side.


6. Take the ring from the mandrel.


7. Use the wire end to wrap around the shank. Make 2-3 wraps. Cut the wire. Tack the wire ends with chain nose pliers so they are not poking.

8. Repeat step 7 with another wire end.


© 2011 Albina Manning


For more great tutorials please visit Albina's shop, AroundBeads

Friday, September 9, 2011

That's witchful thinking

Halloween is getting closer and I am already getting excited, the party spirit, you know.

I was thinking of costumes and decorations for this year and realized I can not come up with many new ideas so I contacted a couple of my friends for some new inspiration. I asked these three friends just three questions about Halloween.

Maybe some of these ideas will help you for your party. Please see my blog for the questions and responses.

Sunday, October 31, 2010

Happy Halloween, everyone!

Our party is over but there is still time for trick-or-treat.Are you a good witch or bad witch today?


Happy Halloween, everyone and may our best witches go with you!

Midwinter sale at socksandmittens

  Mid winter sale at socksandmittens on Etsy! Get 10% off on any item in my shop January 15- February 1, 2024. No coupon code needed! St...